


If you're like most homeowners, eventually you'll need to replace your kitchen sink. It's a big job, but it's not too difficult to do if you know what you're doing. Here is a step-by-step guide on how to install a new kitchen sink.
How to install a new kitchen sink
Planning your kitchen sink replacement
Even the most dedicated home improvement enthusiast can get a little overwhelmed when it comes time to replace their kitchen sink. With all of the different options on the market, it can be hard to know where to start. However, by taking a few simple factors into consideration, the process can be much simpler. The first step is to decide on the material for your new sink. Popular choices include stainless steel, cast iron, and porcelain. Once you've narrowed down your options, you'll need to take measurements of your current sink base and compare them to the dimensions of your new sink. It's also important to choose the right type of faucet to complement your sink. Kitchen sinks are available in a wide range of styles and designs, so there's sure to be one that's perfect for your home. With a little planning and research, selecting a new kitchen sink can be easy and fun.
Choosing the right sink for your needs
The kitchen sink is one of the most important fixtures in the kitchen, and there are many different types to choose from. The most common type of sink is the drop-in sink, which is mounted onto the countertop. These sinks come in a variety of materials, including stainless steel, porcelain, and composite. Another popular option is the undermount sink, which is mounted underneath the countertop.
These sinks are often made of stainless steel or porcelain, and they can provide a sleek and modern look to your kitchen. In addition, there are also wall-mounted sinks and freestanding sinks. Wall-mounted sinks are a great option for small kitchens, as they free up valuable counter space. Freestanding sinks are another versatile option that can be used in both small and large kitchens. No matter what type of kitchen sink you choose, it will play an essential role in your kitchen.
Preparing your workspace for the installation
One important thing to consider when installing a new sink is the layout of your workspace. You'll need to have enough clearance around the sink so that you can comfortably move around and access all the fixtures. If your sink is going to be located in a corner, you may need to remove some shelving or other obstacles to create enough space. Once you've figured out the layout, you can start preparing the surface for installation.
- Clean the area thoroughly to remove any dust or debris.
- Apply a layer of plumbers putty around the base of the sink. This will help to create a waterproof seal and prevent leaks.
- Mark the location of the holes for the faucets and drainpipe on the countertop or backsplash.
Once everything is in place, you're ready to install your new sink.
Disclaimer: We are a participant in the Amazon Services LLC Associates Program. We are also an Affiliate for other Companies and may earn a commission for purchases made thru some of our links.
Installing the new kitchen sink
Now that you've prepared your workspace and chosen the perfect sink for your kitchen, it's time to get started on the installation. The first step is to attach the faucet and drain assembly to the sink. Next, use silicone caulk to create a watertight seal around the edges of the sink. Then, place the sink in position and secure it to the countertop. Finally, install the handles and test the faucets to make sure everything is working properly.
Caring for your new kitchen sink
Once your new sink is installed, it's important to take proper care of it to ensure that it lasts for years to come. Always clean up spills immediately, and wipe down the sink after each use. In addition, avoid using harsh chemicals or abrasive cleaners, as these can damage the finish. Instead, opt for a mild soap and warm water solution. With proper care, your new kitchen sink will be a staple in your home for years to come.
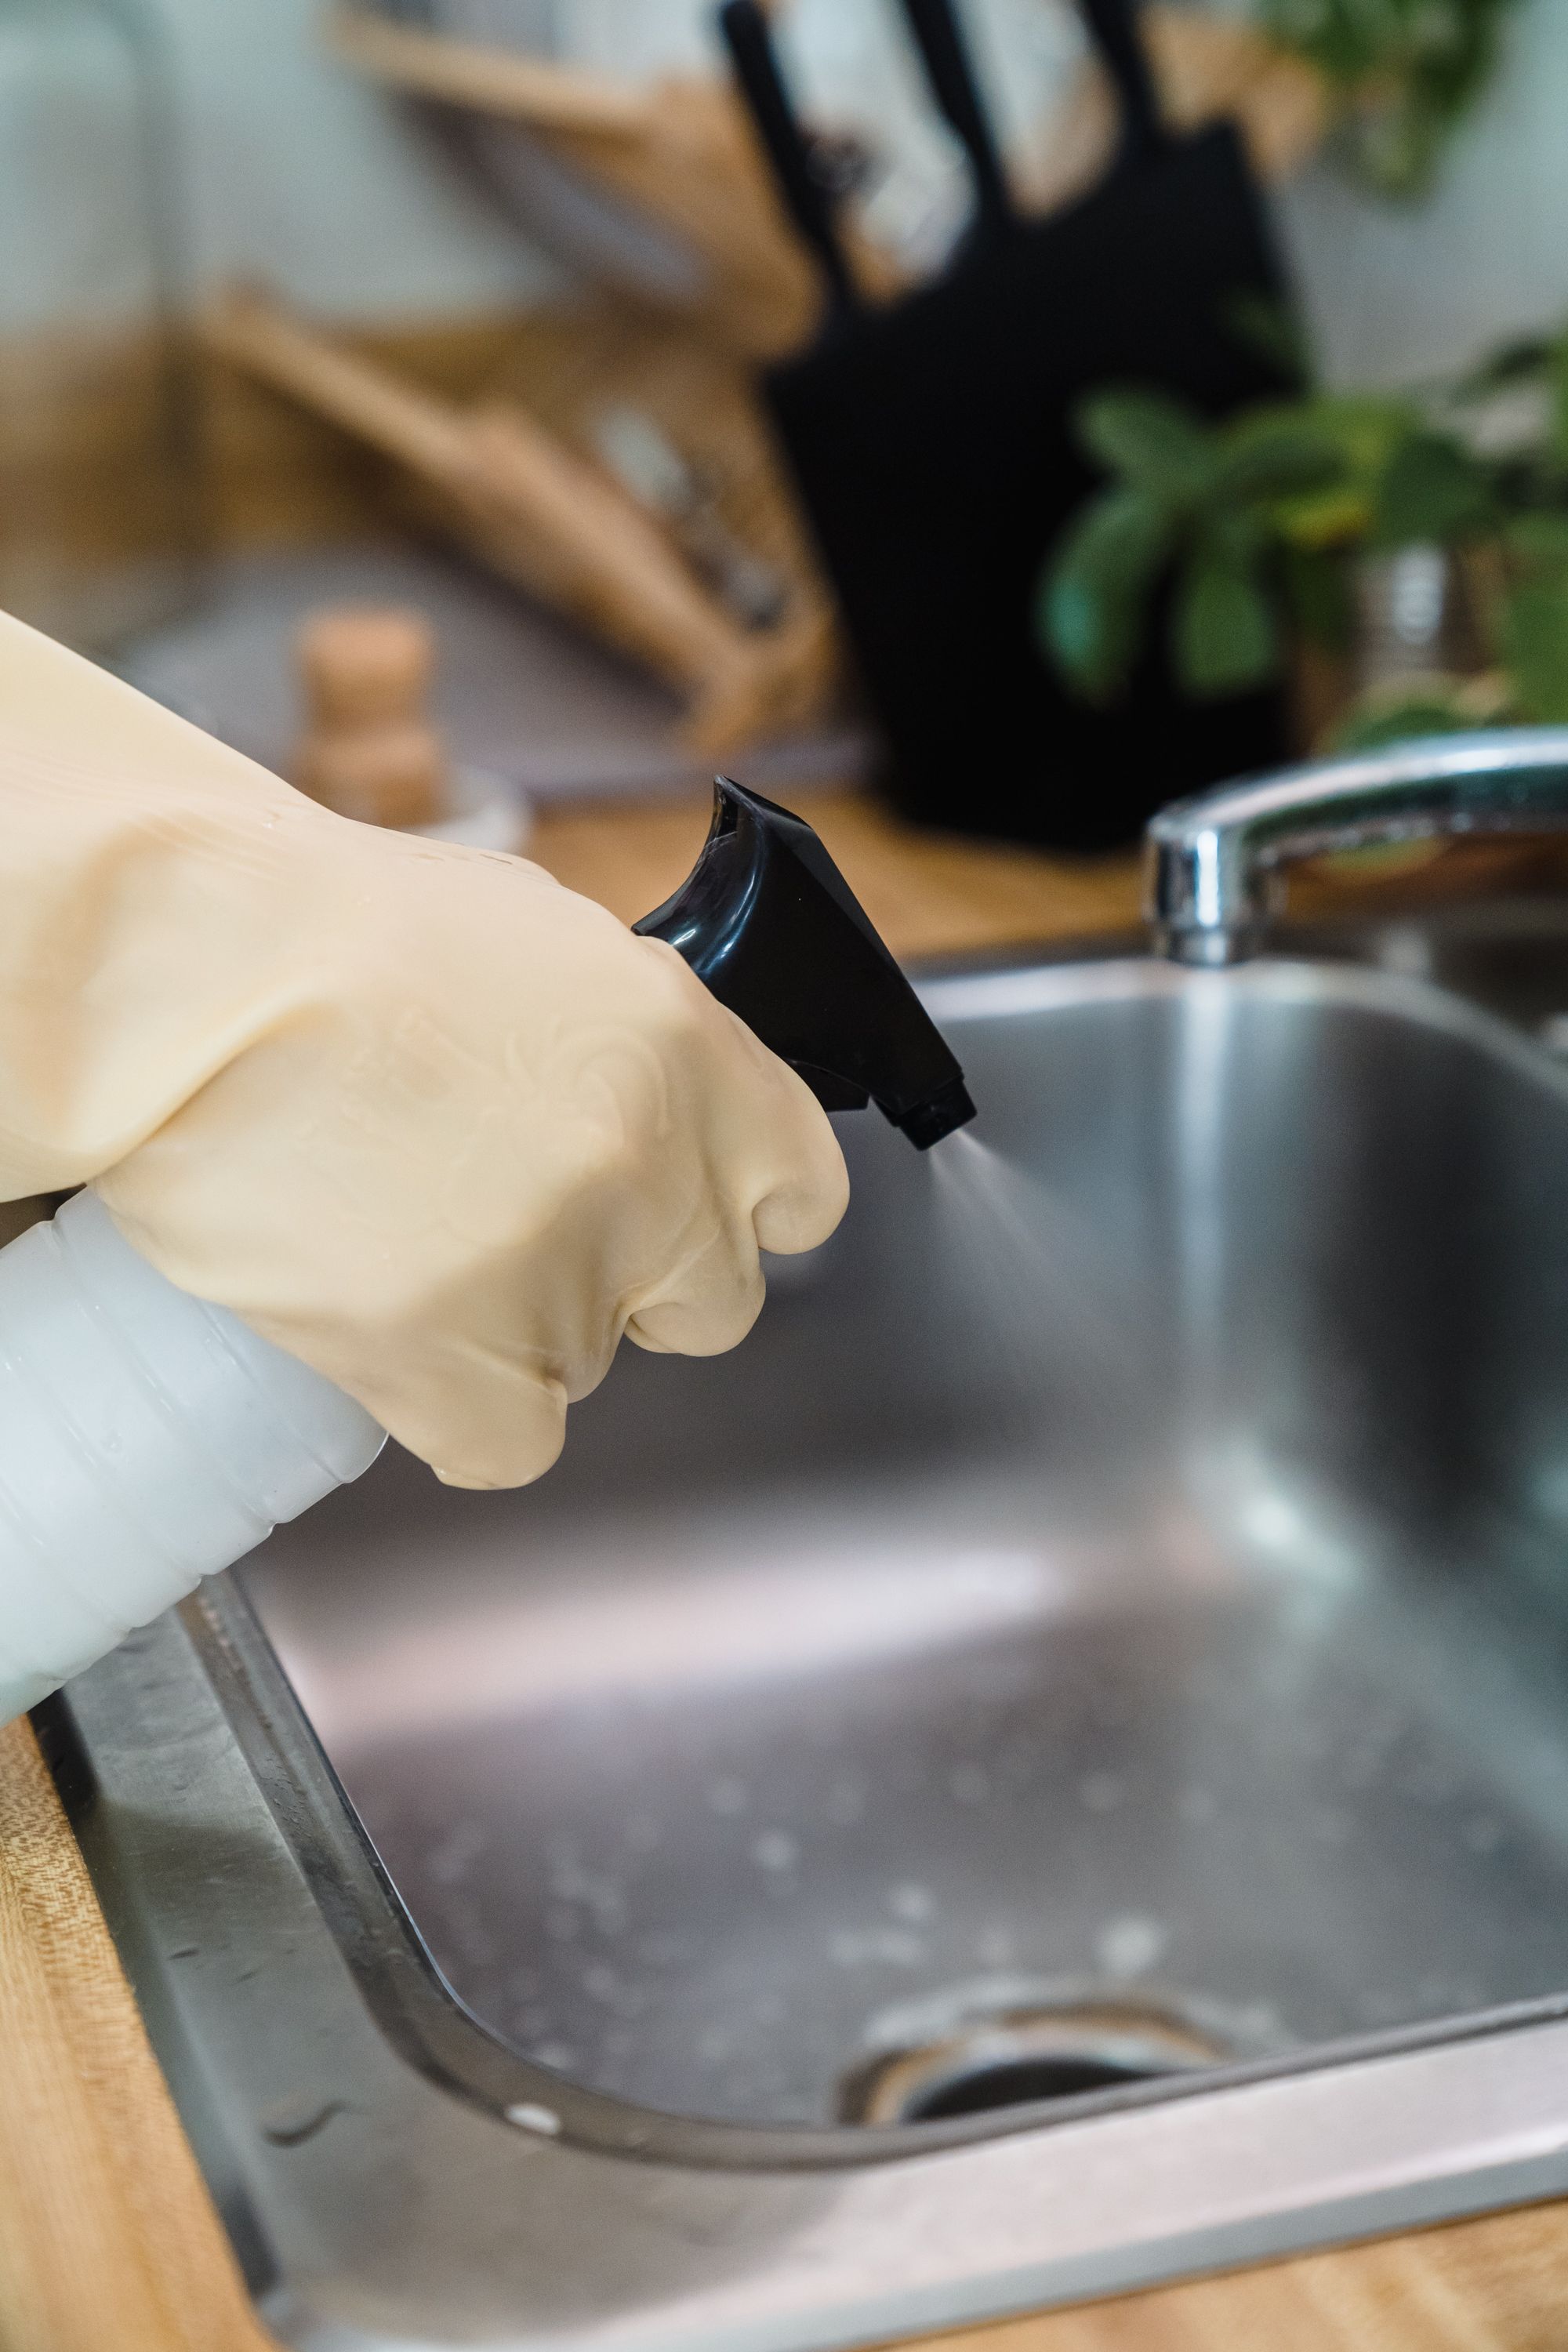
How to clean a kitchen sink
Over time, kitchen sinks can become stained and grimy. This is not only unsightly, but it can also lead to the growth of bacteria. Luckily, there are a few simple steps that can be taken to clean a kitchen sink and keep it looking like new. Any food or grease should be removed from the surface of the sink.
This can be done by scrubbing with a sponge or using a paper towel to wipe it away. The sink should be filled with hot water and a mild detergent. The detergent will help to break down any remaining dirt and grime. Sink should be rinsed with clean water and dried with a cloth. By following these steps regularly, it is easy to keep a kitchen sink clean and free from bacteria.
How to troubleshoot common kitchen sink problems
A clogged or leaky kitchen sink is a pain, but luckily there are a few easy ways to fix the most common issues. In this blog post, we'll walk you through how to troubleshoot and fix three of the most common kitchen sink problems.
Problem #1: Your Kitchen Sink is Clogged
If your kitchen sink is clogged, the first thing you'll want to do is figure out what's causing the clog. The most common culprits are grease, food scraps, and hair. Once you've determined what's causing the clog, you can take steps to remove it.
If the clog is caused by grease, the best way to remove it is with a plunger. First, make sure there's enough water in the sink to cover the plunger's cup. Then, place the plunger over the drain and push and pull it up and down for 30 seconds. If that doesn't work, you can try using a drain snake. Insert the drain snake into the drain and turn it clockwise until you feel resistance. Then, continue turning until you've broken through the clog. You can also try pouring boiling water down the drain to melt any grease that might be causing the clog.
If the clog is caused by food scraps or hair, you can remove it with a drain snake or a plunger (as described above). You can also try making a DIY drain cleaner by mixing equal parts baking soda and vinegar. Pour the mixture down the drain and let it sit for 30 minutes before flushing with hot water.
Problem #2: Your Kitchen Sink is Leaking
If your kitchen sink is leaking, chances are it's because of a faulty gasket or washer. To fix this problem, you'll need to replace the faulty gasket or washer. Start by shutting off the water supply to your kitchen sink. Then, remove the faucet handle and use an Allen wrench to unscrew the retaining nut that's holding the valve in place. Next, remove the valve and take it to a local hardware store so that you can find a replacement that matches. Once you've found a replacement valve, reassemble everything following the manufacturer's instructions—Making sure to apply plumber's putty or Teflon tape to all threaded connections—and turn on your water supply.
Problem #3: Your Drain Smells Bad
If your kitchen sink drain smells bad, chances are there's built-up gunk in your P-trap (the U-shaped pipe under your sink that drains into your main sewer line). To clean out your P-trap, start by shutting off your water supply and emptying any water that's left in your sink basin. Then, place a bucket under your P-trap and use a pair of pliers to loosen its connections so that you can remove it from your drainage system. Once you've removed your P-trap, dump its contents into your garbage can before rinsing it off with hot water and reassembling everything—Making sure that all connections are properly tightened this time around!—before turning on your water supply again.
By following these simple troubleshooting tips, you can fix most kitchen sink problems on your own. However, if your sink is still giving you trouble, it's best to call a plumber so that they can take a look and make sure there isn't any serious damage.
Frequently Asked Questions
How do I clean a kitchen sink drain?
First, start by pouring ½ cup of baking soda down your drain. Follow that with ½ cup of vinegar and let the mixture sit for 30 minutes. This will help break down any grease or food particles that may be causing your drain to clog.
After 30 minutes, run hot water down the drain for a few minutes to flush out the baking soda and vinegar mixture. If your drain is still clogged, you can try using a plunger to force any remaining debris out of the drain. Simply place the plunger over the drain and pump it up and down several times. You may need to do this several times before the clog is removed.
If your drain is still giving you trouble, you can try using a plumber's snake. A plumber's snake is a long, flexible piece of metal that can be used to reach deep into your drain and remove any stubborn clogs. If you don't have a plumber's snake, you can usually rent one from your local hardware store.
What do I do if my kitchen sink is leaking?
If your kitchen sink is leaking, there are a few things you can do to fix it. Check the seal around the drain to see if it is loose or damaged. If the seal is loose, you can try tightening it with a wrench. If the seal is damage, you may need to replace it.
You can also check the pipes under the sink for leaks. If you find a leak, you can try tightening the fitting with a wrench or replacing the pipe. You can check the faucet itself for leaks. If the faucet is leaking, you may need to replace the washer or O-ring. With a little effort, you should be able to fix most kitchen sink leaks yourself. However, if you are unsure of how to proceed, it is always best to consult a professional plumber.
Conclusion
So, there you have it! The steps to follow when installing a new kitchen sink. If you have any questions or run into any problems while trying this yourself, please let us know in the comments below. We’re always happy to help out our readers. And until next time, happy DIY-ing!