


There's nothing quite as annoying as the sound of a dripping faucet, especially when it's keeping you up at night. If you're dealing with a dripping faucet, there's no need to call a plumber you can fix it yourself! Here are 7 steps to take to stop that dripping faucet:
Water
This is one of the most important steps in fixing a leaking faucet. If you do not shut off water to your sink, then there could be major flooding and damage done before anything can happen! To turn off this vital source for our home’s plumbing system - look for fixture shutoff valves below sinks or at points around each room where they are closest- follow these instructions: Hold tightly onto both handles until all five clicks sound out twice (or whatever setting works well with what type of shutoff valve you have). If no water is coming out of the faucet after this, turn the knob on the main water supply until it shuts off completely as well.
Valve Stem
This is the second most important step! In order to fix a dripping faucet, you need to identify which valve is actually causing the problem. The two valves are located behind the handles of your sink - one controls hot water while the other regulates cold. You can figure out which needs to be fixed by turning on both valves all the way and then feeling which one is leaking.
O-Ring
The third step is to check for any damage on the o-ring. The o-ring is a small, black rubber ring that helps to create a watertight seal. If this seal is broken, then it will definitely cause your faucet to leak. Inspect the o-ring for any cracks or damage and replace it if necessary.
Washer
The fourth step is to check the washer. The washer is a small, flat piece of metal that helps to create a watertight seal. Over time, however, these can become corroded or damaged which will cause your faucet to leak. Inspect the washer for any damage and replace it if necessary.
Seat
The fifth step is to check the seat. The seat is a small, metal disk that helps to create a watertight seal. Over time, however, these can become corroded or damaged which will cause your faucet to leak. Inspect the seat for any damage and replace it if necessary.
Assembly
The sixth step is to reassemble your faucet. Once you have replaced the o-ring, washer, and seat, you can now begin to reassemble your faucet. Make sure that you do not over-tighten any of the components as this can cause even more damage.
Testing
The seventh and final step is to test your faucet to make sure that the dripping has stopped. Turn on your water supply and both valves. If there is no longer any dripping, then congratulations! You have successfully fixed your dripping faucet.
Disclaimer: We are a participant in the Amazon Services LLC Associates Program. We are also an Affiliate for other Companies and may earn a commission for purchases made thru some of our links.
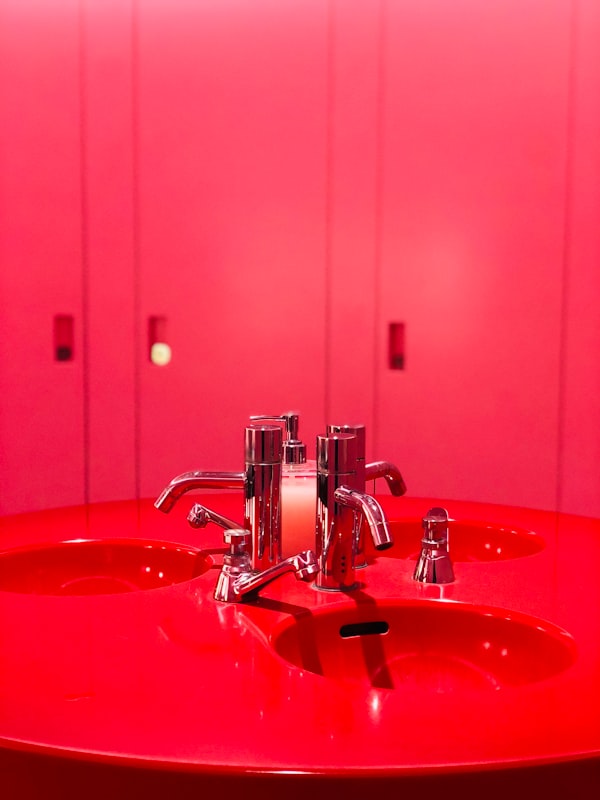
The Different Types of Faucets and How to Fix Them
There are four main types of faucets: ball, cartridge, compression, and disc.
Ball Faucet
Ball faucets have a single handle that controls both the hot and cold water. A ball inside the faucet controls the flow of water by opening and closing the valves. These types of faucets are durable and easy to repair, but they can be noisy.
Cartridge Faucet
Cartridge faucets also have a single handle, but instead of a ball, they have a cartridge that controls the flow of water. Cartridge faucets are also easy to repair, but they may require special tools.
Compression Faucet
Compression faucets have two handles—one for hot water and one for cold water. A rubber washer is responsible for controlling the flow of water in these types of faucets. Compression faucets are durable, but they can be difficult to repair.
Disc Faucet
Disc faucets also have two handles, but instead of a rubber washer, they have a disc that controls the flow of water. Disc faucets are very durable and easy to repair.
If one of your faucets is not working properly, here are a few tips on how to fix it:
- If your ball or cartridge faucet is leaking, chances are you just need to replace the O-ring or seals.
- If your compression or disc faucet is leaking, you may need to replace the washers or discs.
- If your handle is loose, you may just need to tighten it.
How to Tell If You Need a New Faucet
Over time, even the best-made faucets can begin to wear out. If you're not sure whether it's time for a new faucet, there are a few signs to look for. Check for leaks. A small drip can waste a lot of water over time, so it's important to fix any leaks as soon as possible.
Another sign that your faucet needs to be replaced is if the finish is wearing off. This can happen if the faucet is made of brass or copper and is exposed to water on a regular basis.
If the finish is starting to wear away, it's a good idea to replace the faucet before the underlying metal is affected. Take a look at the handles. If they're loose or hard to turn, it's time for a new faucet.
By keeping an eye out for these signs, you can ensure that your kitchen or bathroom stays in good condition for years to come.
How Much Does It Cost to Replace a Faucet?
When a faucet starts to drip or leaks, it's time to replace it. A dripping faucet can waste a lot of water, and a leaky one can cause water damage. Faucets are relatively easy to replace, but the cost will vary depending on the type of faucet and whether you do it yourself or hire a plumber.
The most important factor is the type of faucet you need. If you have a standard kitchen sink, then you'll need a standard kitchen faucet.
These typically cost between $50 and $100. However, if you have a specialty sink, such as a farmhouse sink, then you'll need a specialty faucet to match. These can cost upwards of $200. The next factor is whether you hire a plumber or do it yourself.
If you're comfortable with DIY projects and have the tools, then replacing a faucet shouldn't be too difficult. However, if you're not confident in your abilities, then it's best to hire a professional. Plumbers typically charge by the hour, so the cost will depend on how long it takes them to complete the job. However, you can expect to pay at least $100 for the service.
So, when considering the cost of replacing a faucet, be sure to factor in the type of faucet and whether you'll be hiring a professional. Doing so will help you get an accurate estimate for the project.
DIY or Hire a Pro: Which Is the Best Option for You to replace your faucet?
There are pros and cons to both DIY and hiring a professional to replace your faucet. Here are some factors to consider
DIY
- It can be cheaper to do it yourself, depending on the brand of faucet you buy.
- You have more control over the installation process if you do it yourself.
- It can be a fun project for a weekend!
Hiring a Pro
- They will have more experience installing faucets, so there is less chance of something going wrong.
- If something does go wrong, the pro will be responsible for fixing it.
- You may not need any tools or supplies if you hire.
Conclusion
That's all there is to it! By following these simple steps, you'll have your dripping faucet fixed in no time. And once it's fixed, you'll be able to enjoy silence sweet, sweet silence!
We love finding gifts that are unusual, thoughtful, and well vetted.
See even more gift ideas we recommend here.